
With warmer weather on the horizon and a little more time at home, now is the perfect moment to take on those big organizing projects you’ve been putting off. For us, that project was our unfinished basement—a catch-all space full of outgrown kids’ clothes, broken furniture, seasonal decorations, and my husband’s beloved antique train table taking up most of the floor space. Like many families, we were overwhelmed by the amount of stuff and the lack of time to deal with it. My husband and I finally committed to tackling it head-on. And the results? Life-changing. Here’s exactly how we did it—and how you can too.
Step One: Go Through EVERY Bin and Box
This is the hardest part—but also the most important. I’ve worked as a professional organizer for over 20 years, and the biggest obstacle is always facing what’s actually down there. In our case, that meant finally sorting through over 20 boxes of my husband’s grandfather’s train collection. It was emotional, overwhelming, and at times really hard to part with items tied to such strong memories. But we reminded ourselves: you can’t keep every memory—you can keep a few to represent them all.
Pro Tip: Take photos of sentimental items you’re ready to part with. The memory stays, the clutter doesn’t.
Step Two: Let It Go
We said goodbye to “maybe someday” projects like broken furniture and oversized holiday décor. If you can’t create a realistic timeline to complete the project, it’s time to let it go. Ask yourself:
- Do I really use all of this?
- Would I go looking for this in the basement?
- Does it bring value to my life now?
Out of sight shouldn’t mean out of mind. Keep what serves you today.
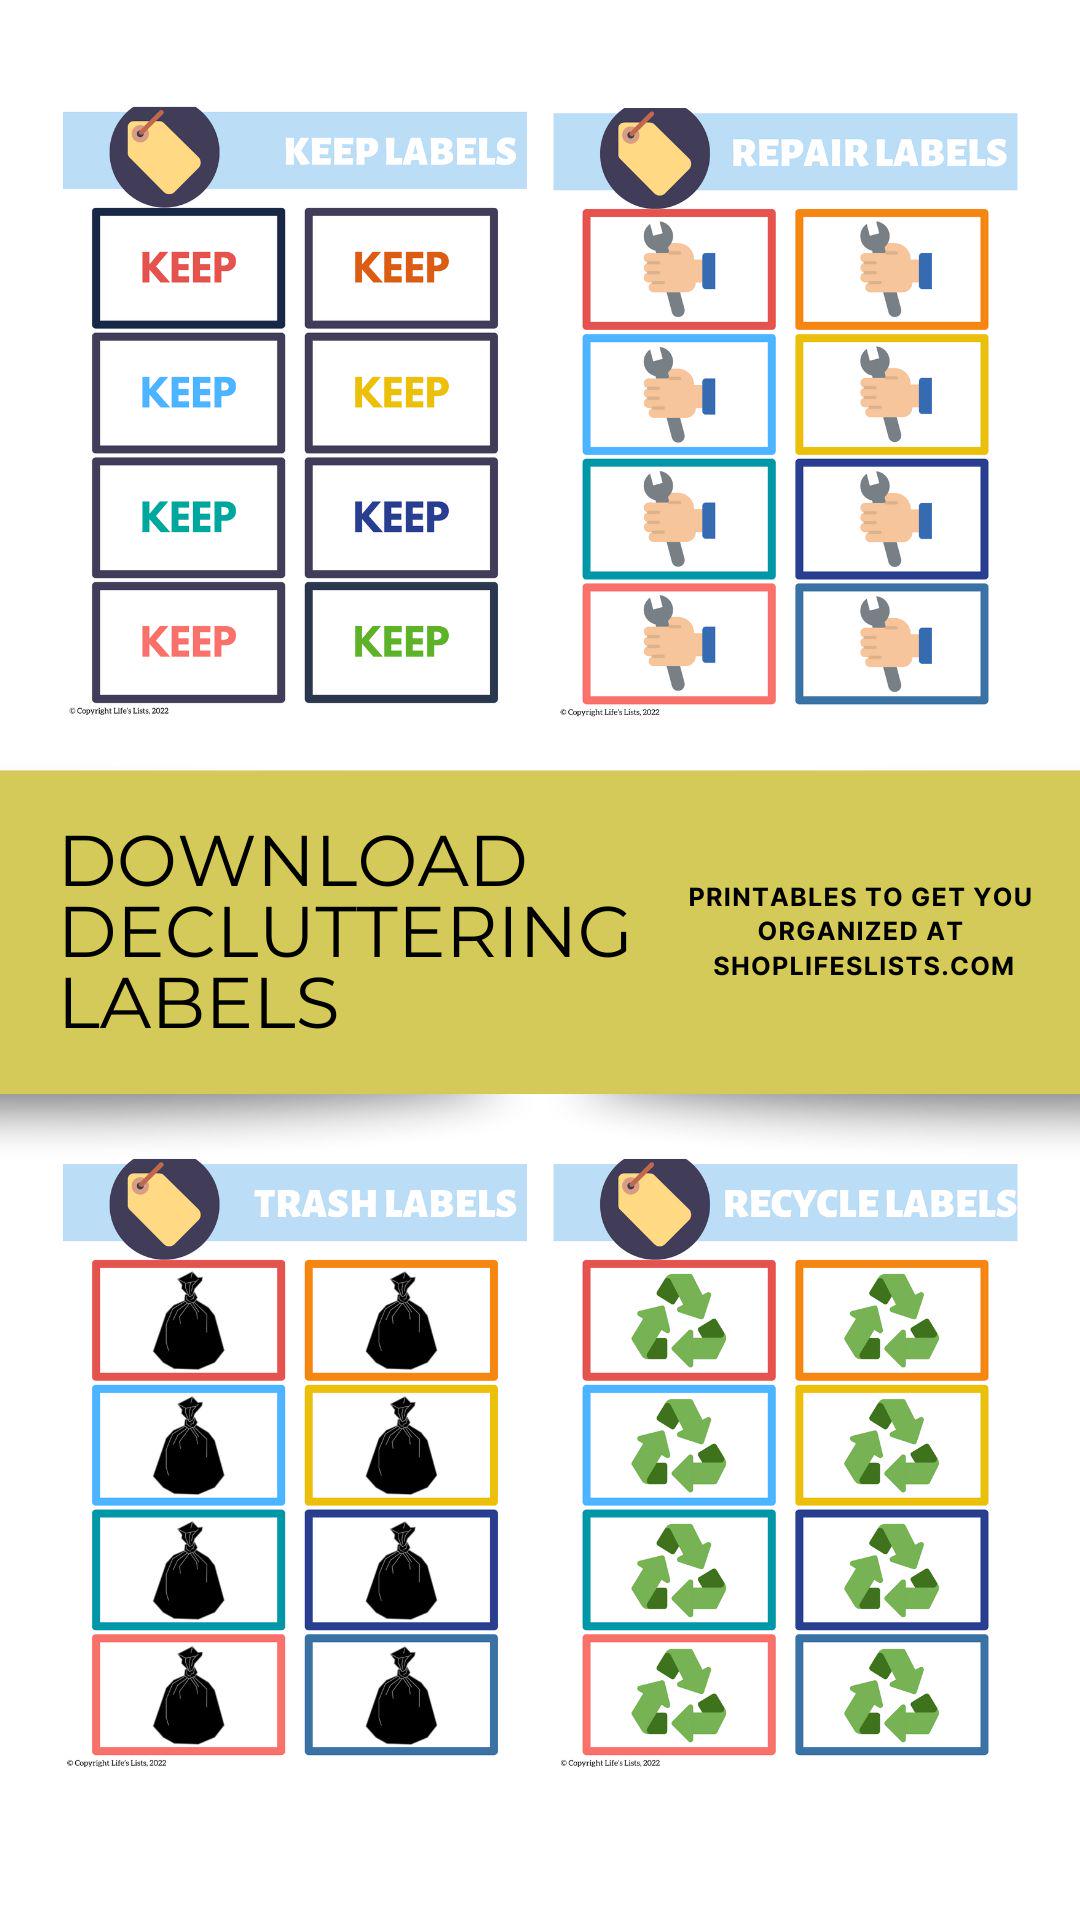
Need a little help with this step? Grab our Declutter Templates to make it easy to sort, label, and maintain your categories long-term!
Step Three: Make Clear Categories
Once we knew what needed to stay, we broke everything into intentional, functional categories—holiday décor (organized by season), tools, painting supplies, keepsakes, and so on. We used bins for:
- Rotating toys from the playroom
- Gift wrap
- Memorabilia
This is where you customize your space for you.
Step Four: Create Vertical Shelving
We maximized our wall space with metal racks and wood shelving. If your basement feels chaotic or mismatched, investing in proper shelving will make a world of difference. Not only does it look better—it makes accessing bins and boxes much easier.
Step Five: Label EVERYTHING
Labels are what keep your hard work functional. If you can’t see what’s inside a bin at a glance, chances are you’ll avoid it. We used clear bins and created custom labels with a black background and white text—super clean and easy to read.
The Golden Rule: Everything Has a Place—Return It There
We worked hard to organize our basement. Now we’re all committed to keeping it that way. The key? Making sure everyone puts things back in their proper place. If something keeps ending up out of place, ask:
- Is the spot hard to reach?
- Is the bin too difficult to open?
- Is the item too frequently used to live in the basement?
Fix the stumbling block, not just the symptom.
Ready to Declutter Your Space?
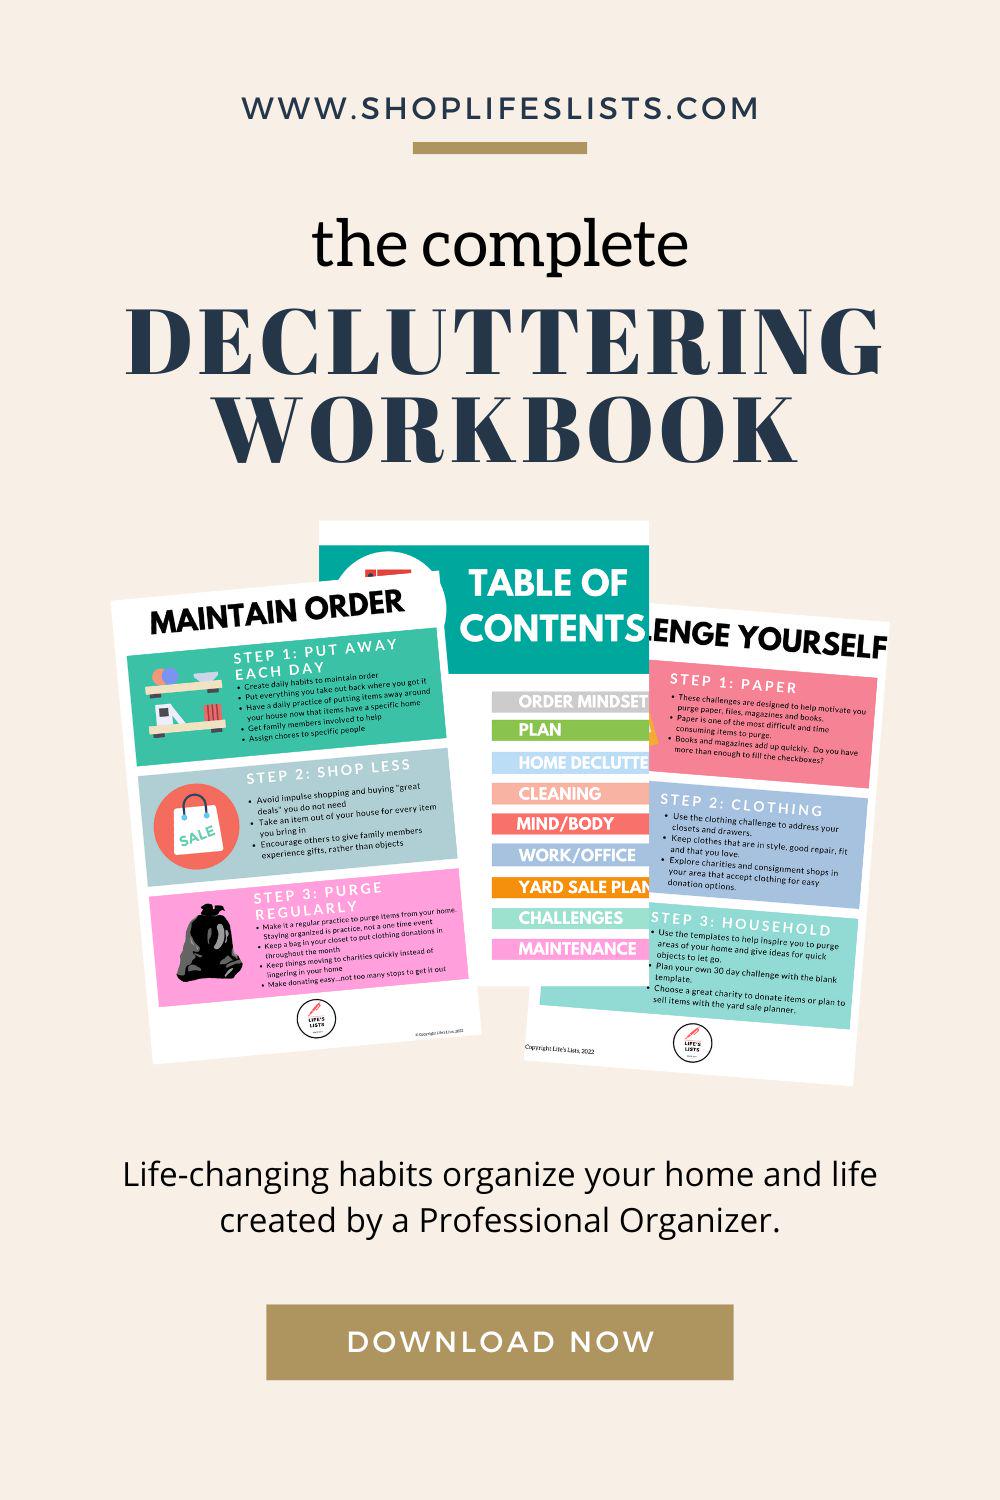
Start with our Declutter Templates or Life & Home Declutter Workbook to guide your sorting process, and when you're ready to say goodbye to extra stuff, check out our Yard Sale Planner—everything you need to plan a successful sale in one easy bundle! Visit shoplifeslists.com for tools that make organizing easier and even fun!
Happy Organizing!
Kristin
About the Author: Kristin Vander Wiede is a Professional Organizer and owner of Livable Solutions Professional Organizing and Life’s Lists, offering printable organizing systems, labels, and tools to simplify your life.